DIY USB LED Flat Light
I made a nifty usb-powered LED flat light to review film. I’ll show you how!
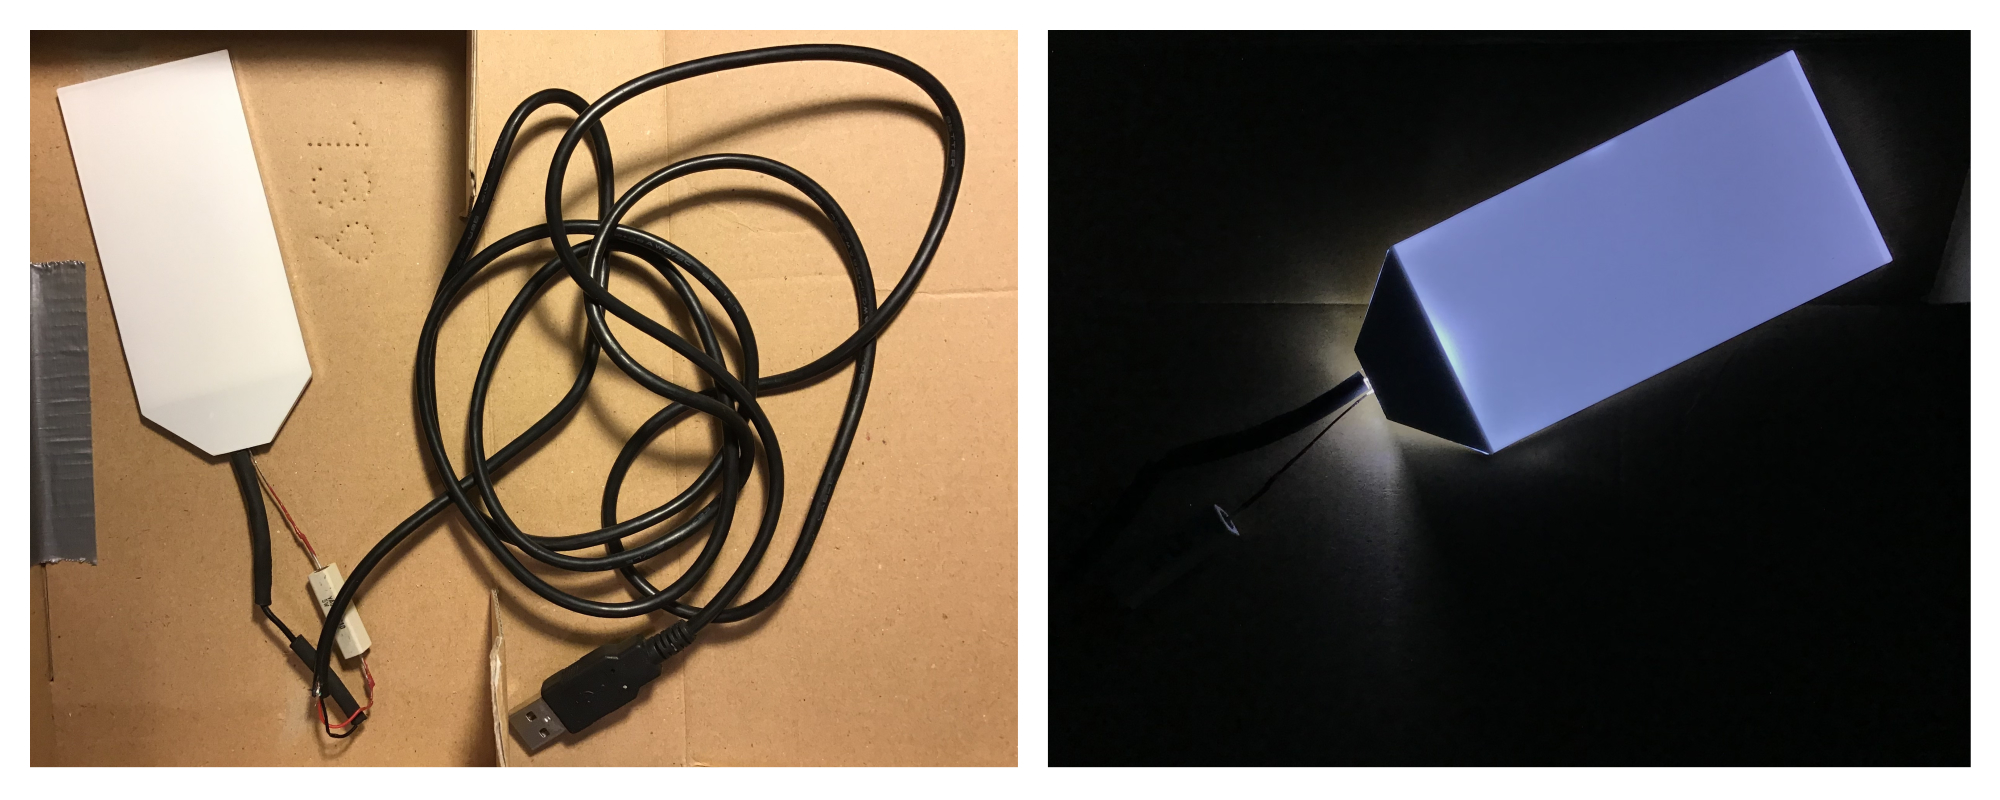
Back lighting is useful for viewing sleeved negatives. Something like a trace table would be the absolute ideal solution for this, but for occasional use a smaller LED panel does the trick.
I based this project off of a how-to from instructables by the_kage you can find here.
🔗 Supplies
For this project, you’ll need:
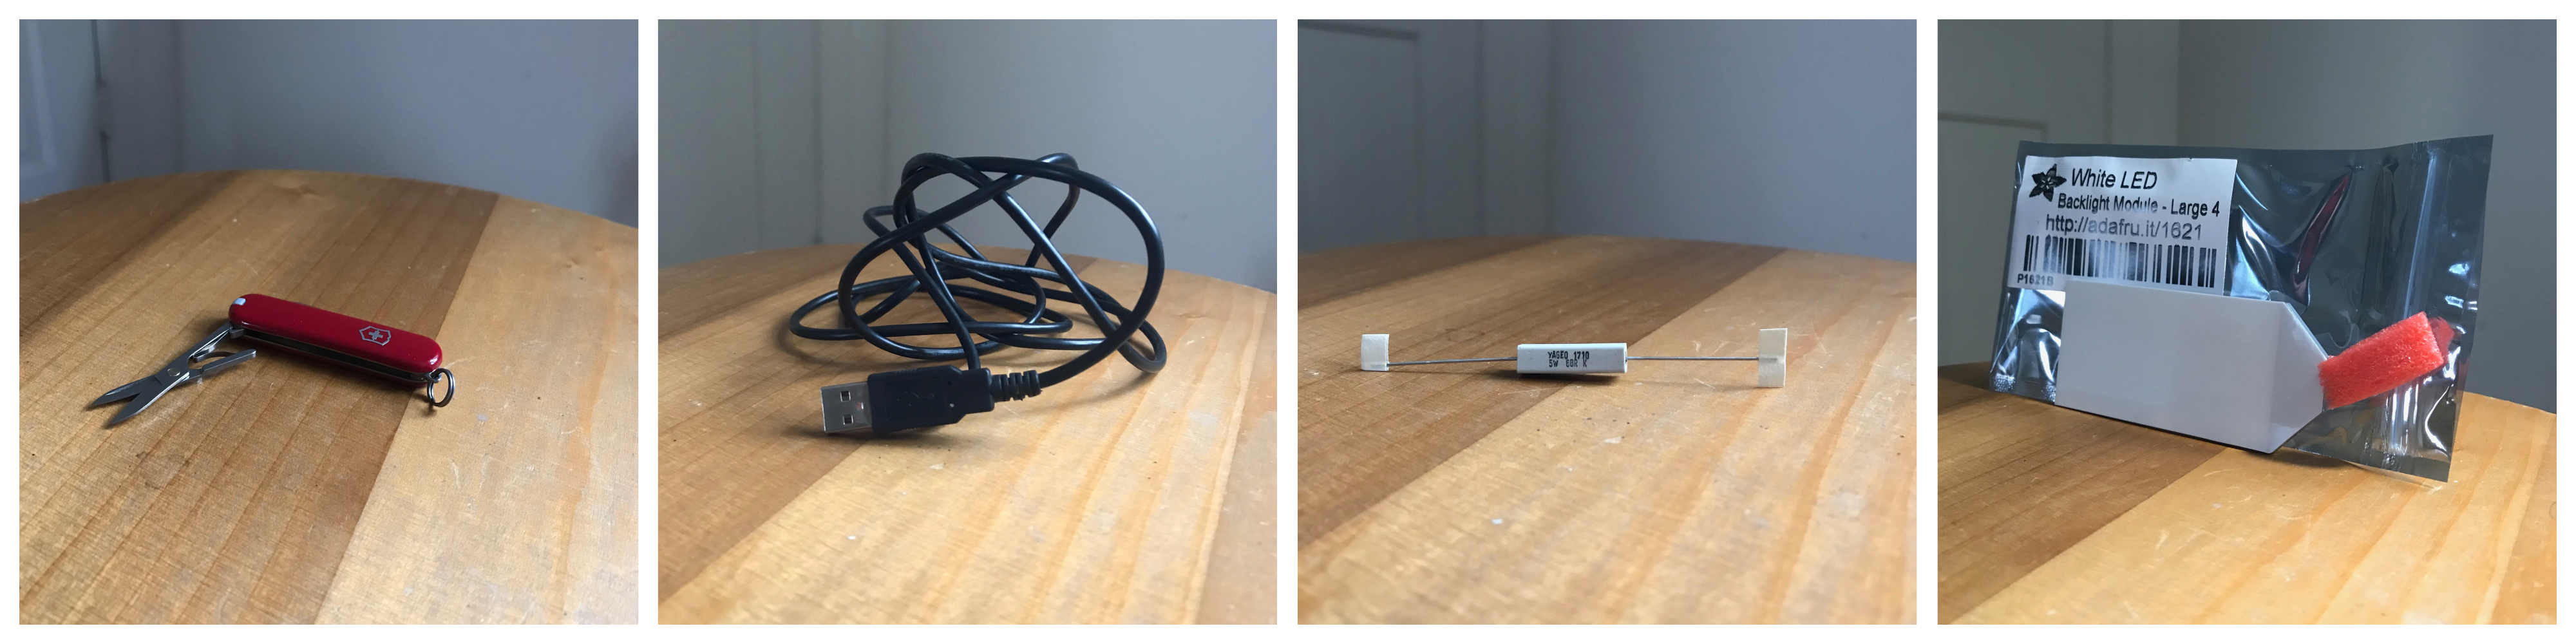
- a usb-to-anything cable you don’t mind destroying
- a 68 ohm resistor
- I found mine on Arrow Electronics, which doesn’t seem to have a minimum shipping requirement
- a LED usb panel
- listed on Adafruit
- Arrow Electronics also carries this item
- scissors
- soldering stuff
- soldering iron
- solder
- flux
- heat-shrink wire sleeves
- wire strippers or a paring knife
- nail polish
🔗 Assembly
- clip cable near the non-usb end of the cable and strip wire back half an inch
- black and red wires are power, other colors are data
- clip back one wire to make room for the resistor
- solder together
- put on heat-shrink wire sleeves
- cover exposed soldering with nail polish
- be careful about it dripping/collecting on the bottom of the wire
- plug it in and test!
🔗 Use

I keep my film in PrintFile sleeves in a three-ring binder. (The leftmost image above is from printfile.com.) The flat LED is easy to slip between pages to back light the film. The panel is the right size to illuminate approximately two 35mm images at a time.
Looking at negatives gives some sense of focus/detail (especially with a magnifying loupe) and subject, but I can’t get an aesthetic sense of the image without seeing the positive. (I suspect interpreting negatives takes considerable practice.) I’ve found that using my phone’s camera with the “invert colors” accessibility feature of my phone gives a convenient, easier-to-digest preview.
🔗 Let’s Chat
Comments? Questions? Your own tips & tricks? Tweet me @mmore500!